The Lathe demo store
Choosing Lathe gives you the layout, typography, and colors you saw in the demo, applied to your own catalog. What it does not carry across is the demo’s content: the photography, product names, and copy stay with the demo store, because those images are licensed for it rather than for every store that installs the theme. So your first look will be the Lathe structure holding your products and your pictures, which is exactly how it should start. This page lists what the demo is built from, so you can fill it in piece by piece.
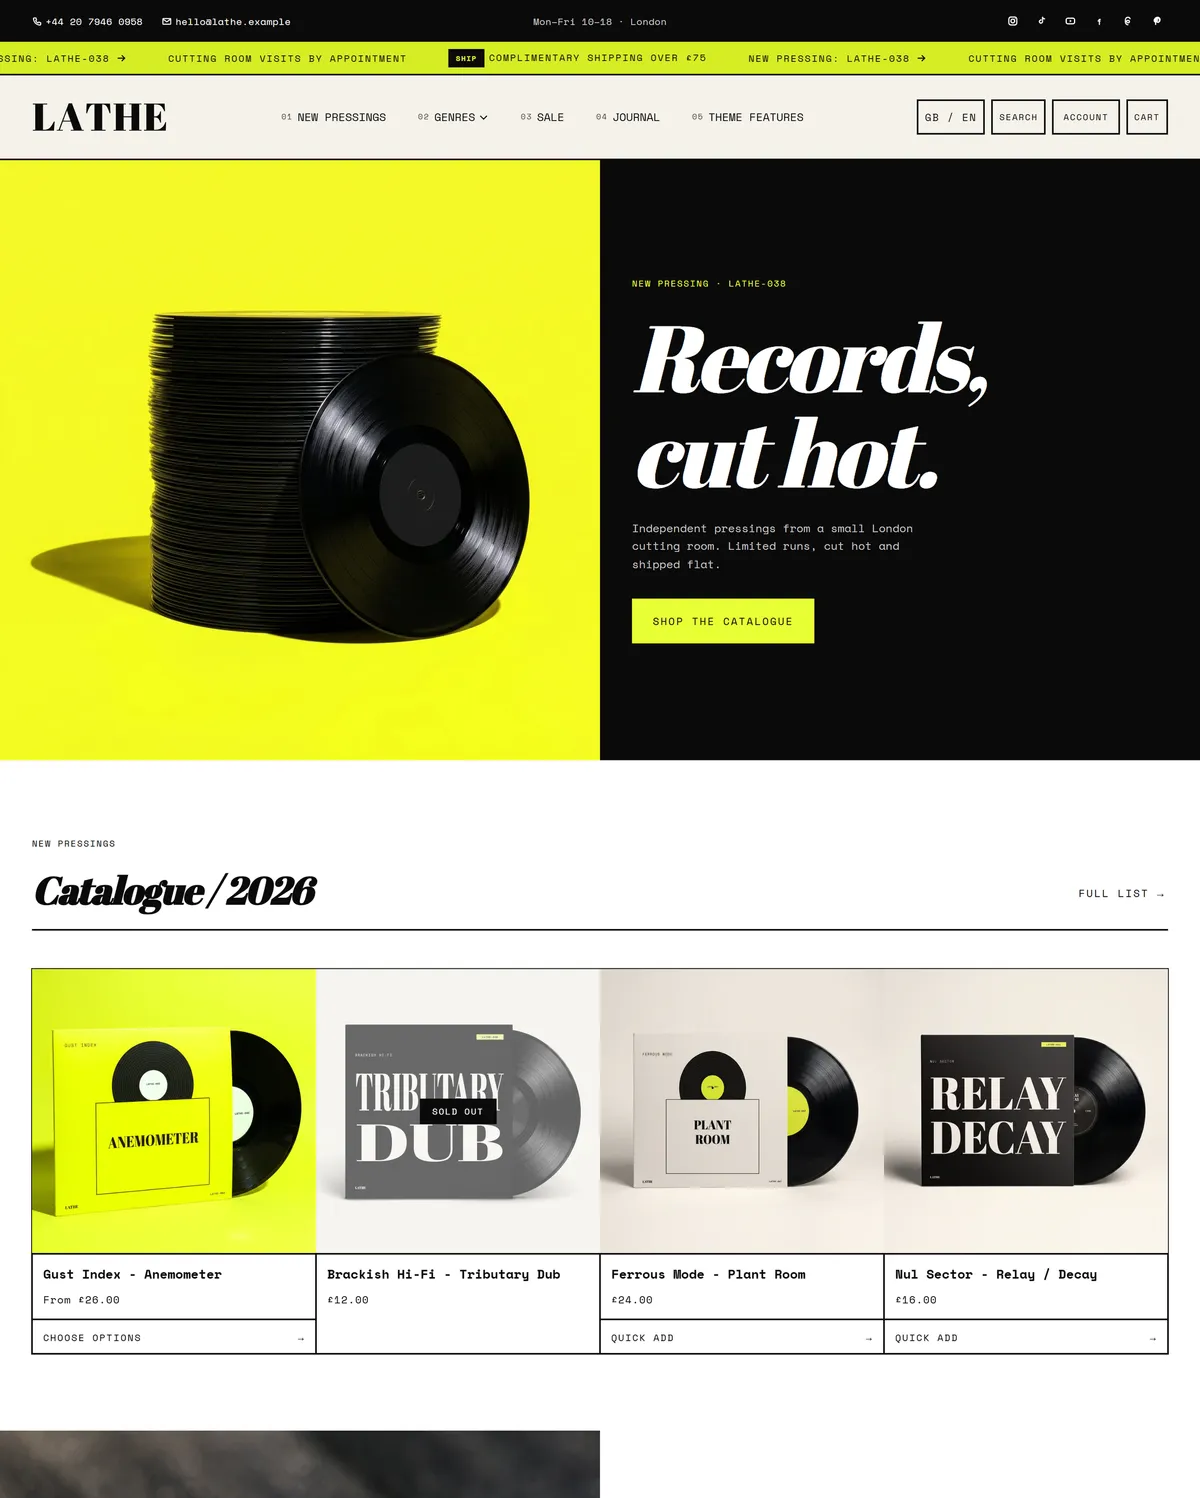
Build the homepage in this order
Section titled “Build the homepage in this order”- Hero. The opening statement: one short headline over a single large image. Use your strongest photograph and clearest line about what you sell.
- Featured collection. A row of products from one collection. Point it at whatever you most want a first-time visitor to browse.
- Image with text. A picture beside a paragraph. The demo explains how the product is made; yours can carry your material, process, or workshop.
- Countdown. A timer running to a release date. Use it for a launch, a restock, or the end of a sale.
- Collection list. Three blocks, each a doorway into a collection with one image apiece. Swap in your own categories.
- Featured product. One product given a whole section, built from six blocks so you decide what appears and in what order. Choose a bestseller or a new arrival.
- Steps. Three numbered blocks walking through how something is made. Retell your own process in three short stages.
- Newsletter. The email signup. Say plainly what subscribers get and how often.
- Event calendar. Three dated entries. Good for launches, workshops, markets, or in-store days.
- Rich text. Writing on its own, with no image beside it. Use it for a short statement of what you stand for.
- Blog posts. Your most recent articles, so the page ends on something that keeps changing.
Around every page sit a Top bar, an Announcement bar, and the Header, then the Footer and a Bottom bar. The cart drawer, search drawer, promo popup, and age verification overlays are set up in the same editor.
Set the look with these settings
Section titled “Set the look with these settings”- Fonts. Headings use Abril Fatface at its regular weight, a heavy display serif that carries the personality. Body text and small labels both use Space Mono, and prices follow the body font so the numerals stay even. See Typography.
- Letter case. Headlines run in normal case, while captions, small labels, buttons, and navigation are uppercase. Heading letter spacing is pulled tight at -3%, and the hero headline is sized at 96px.
- Corners and borders. Every corner is sharp, with card radius at 0 and no cut corners. Border thickness is a deliberate 2px and depth is flat, so structure comes from rules rather than shadow. See Corners, borders, and depth.
- Buttons. Solid with an accent label, set in uppercase, with a color snap on hover that changes instantly rather than fading. See Buttons.
- Icons. The bracket marker style, a filled bag for the cart, and a heavy 2.5 line weight that matches the borders. See Icons.
- Motion. Expressive at fast speed, so reveals and hovers feel brisk. See Animations.
- Layout and cart. Page width stays at the default, keeping wide headlines at a readable measure, and the cart opens as a drawer. See Layout and spacing and Cart.
- Colors. Five schemes: white with near-black text, a warm off-white, an inverted near-black, a full panel of acid yellow, and a soft stone. That same yellow is the accent in the first three, and becomes the background of the fourth. See Color schemes.
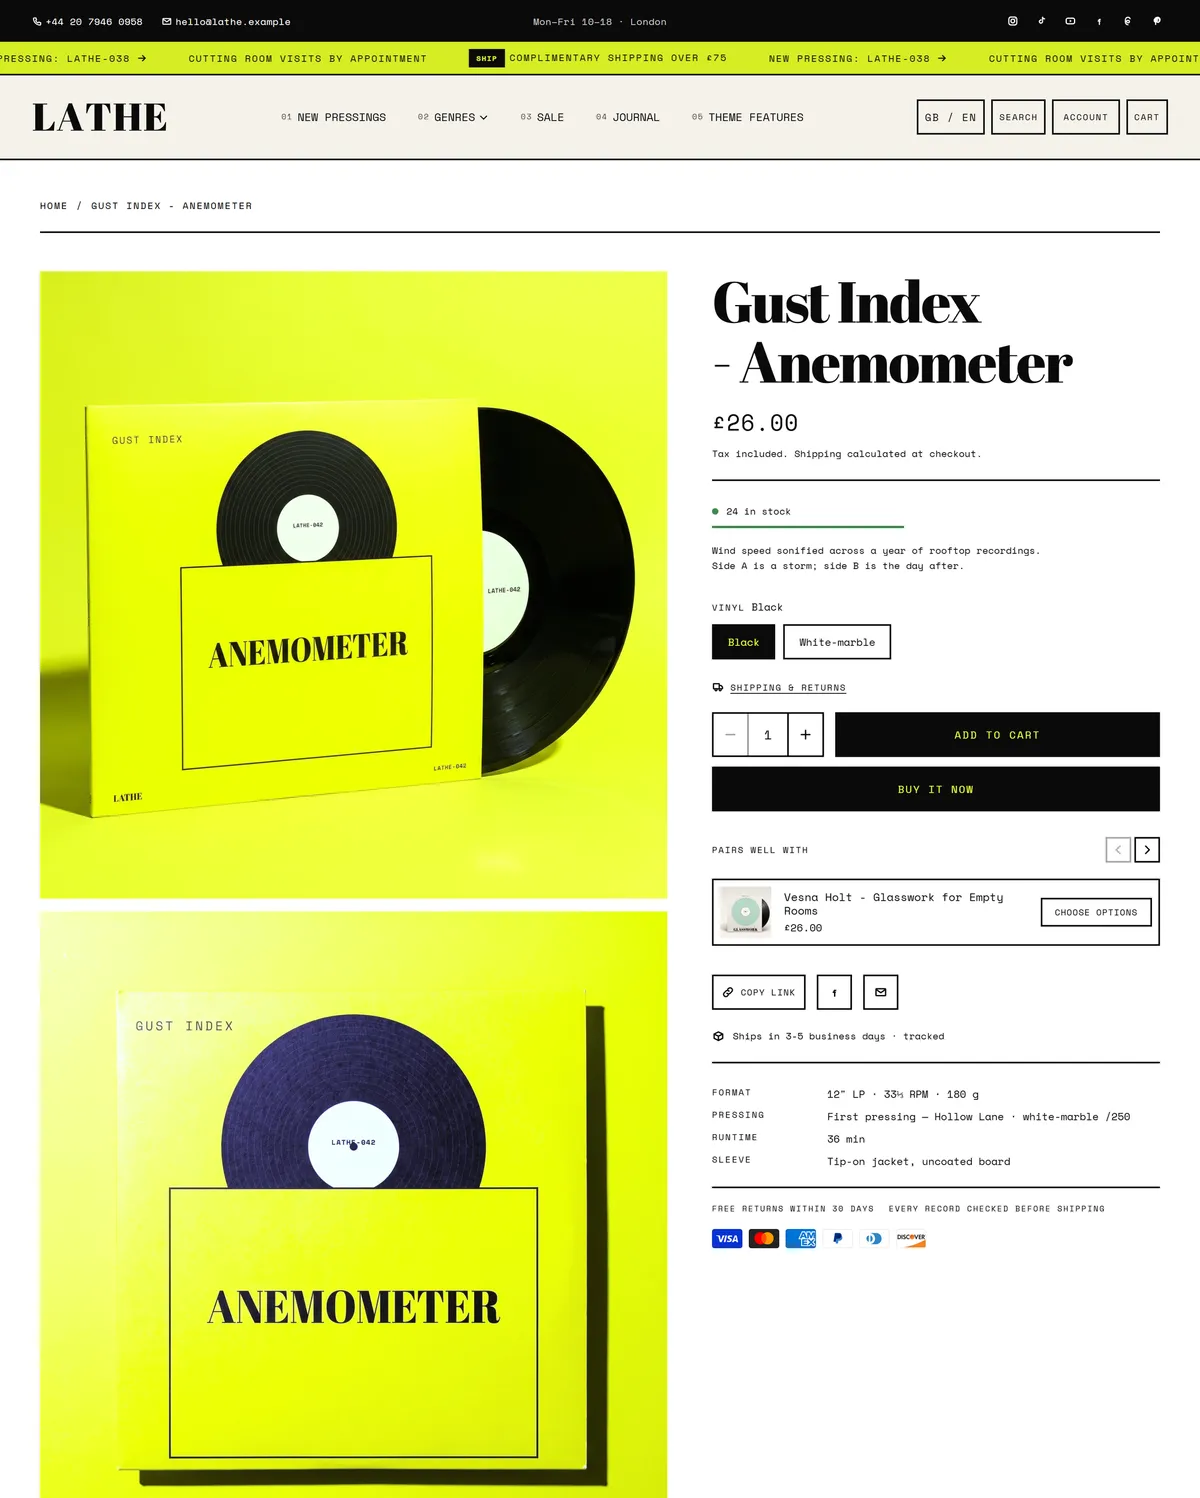
These settings apply store-wide, so the product, collection, blog, search, cart, contact, FAQ, and password pages all arrive in the same voice.
Supply your own photography and words
Section titled “Supply your own photography and words”Lathe runs pictures at full width and headlines at a large size, which rewards good source material. Use images of at least 2000px on the longest side, keep a consistent crop across your catalog, and favor shots with room around the subject so a headline can sit over them. Then write short: this style reads best with headlines of three to five words and plain product names. Build your menus in Online Store → Navigation, and create your collections before you place the Collection list, so you have something real to point it at.
Read more about the pieces
Section titled “Read more about the pieces”The sections reference explains every section listed above and the options inside each one. Theme settings covers the store-wide settings in full, with the full range behind each value quoted here.